

How To Install Vinyl In Bathroom
Do you want to switch out your old bathroom floor for swanky new vinyl flooring? Vinyl planks are waterproof and are perfect for high moisture areas such every bit the basement or bathroom. New varieties are also fashionable, and they will give your bath area a fresh modernistic expect.
In this commodity, nosotros will show you how to install floating vinyl plank floor in a bathroom. The task is relatively demanding, just with the right tools and an agreement of basic floor techniques, you can renovate your bathroom for cheap.
Given that this is a floating floor, you volition demand to pay attention to a couple of things, such as leaving a space around the walls for the planks to expand and contract safely. We'll become into all the details in a flake, so without further ado, permit's get directly into installing your new vinyl floor.
Tools and Supplies You Volition Need
- Pry bar
- Mallet
- Belt Sander
- Tapping block
- Utility knife
- Silicone caulk
- Vinyl planks
Pace-by-Pace Guide To Install Floating Vinyl Plank Flooring in a Bathroom
Follow these steps to build your new floating vinyl plank floor.
Step 1: Remove the toilet

Whether you have a half or full bath, the best fashion to become a clean, professional expect when installing the planks is to remove whatsoever obstructions on the floor. Information technology might seem easier to simply lay the planks around the toilet, but in the cease, you might not get the slap-up look yous are after.
Your best bet is to remove the toilet and any other obstacles, such as the vanity, if possible. Hither is a helpful video that will show yous how to remove and reinstall the toilet.
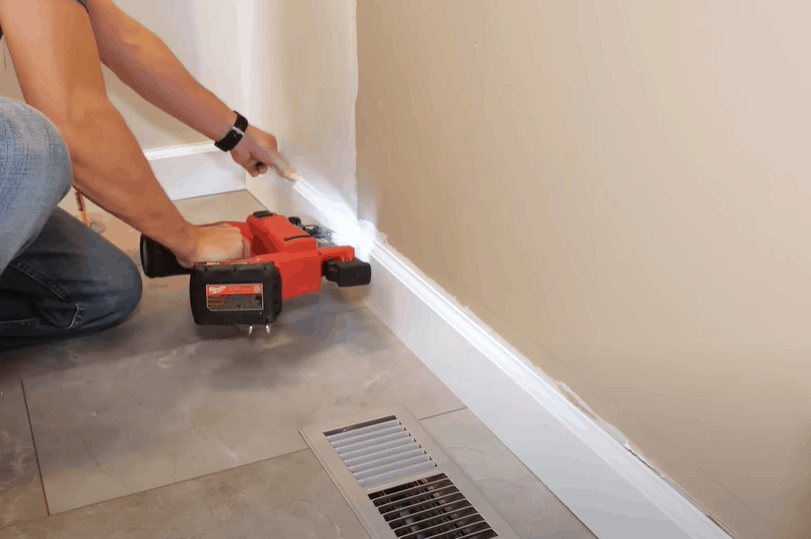
Stride 2: Remove the baseboard
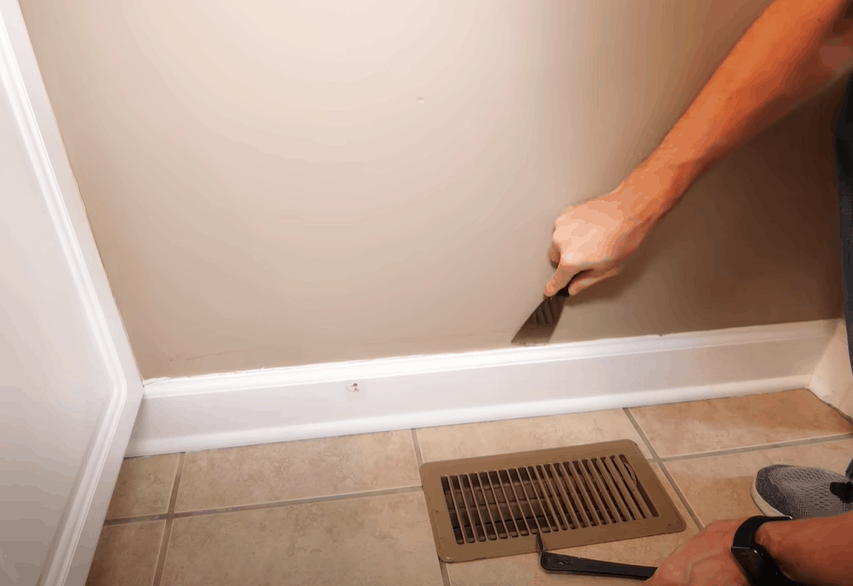
When installing a floating floor, yous need to leave space betwixt the walls and the planks. Infinite allows the flooring to contract and expand safely without causing the planks to bulk out of place due to temperature changes. Removing the baseboard cladding enables you to leave the necessary infinite needed to install a stable floating floor.
Pro Tip: Fill up the air vents in the bath with old towels to proceed dust and debris from getting in there and causing a ventilation outcome after on.
Step iii: Remove existing flooring
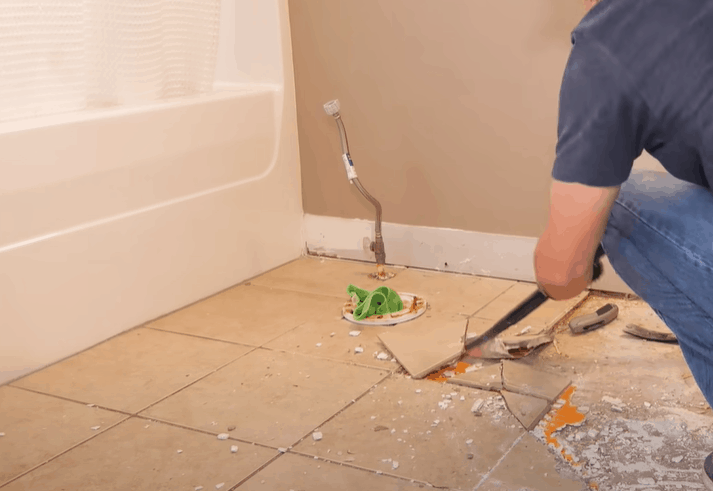
Nearly bathrooms are fitted with ceramic tile flooring. If this is the example for you, you will need to commencement take out the tiles before installing the vinyl planks. If you take laminate or concrete floors, you lot tin install the vinyl flooring direct without much preparation.
The safest way to remove ceramic tiles is to apply a pry bar to lift out the tiles. Some tiles will put up a fight, so a fiddling chip of elbow grease and patience are needed to remove the unabridged ceramic floor.
Stride 4: Set up the subfloor
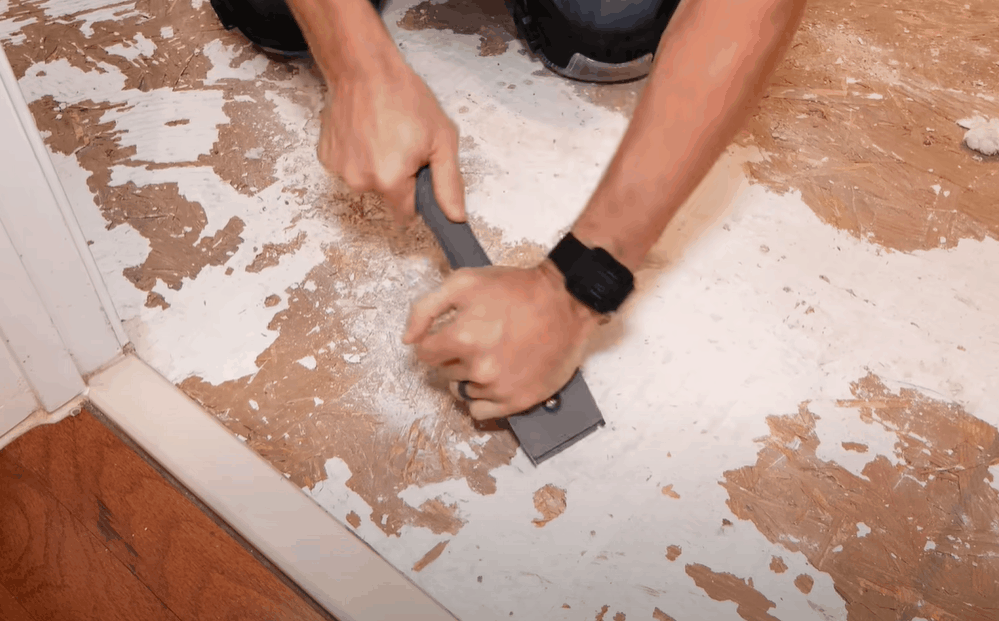
It is of import to lay vinyl planks on an fifty-fifty and leveled floor. Whatever slight unevenness increases the adventure of the planks coming apart.
Get-go, apply a carpenter'due south level to check the flooring's levelness and identify the uneven spots. Employ a sand belt to even out loftier spots. A xl or half-dozen grit sanding paper is the best pick for sanding down floors.
Inspect the floor for any cracks and repair them with concrete filler. Cracks brand the subfloor unstable and can become a big trouble when moisture seeps through, causing mildew and mold underneath the vinyl planks.
If your bathroom has particularly sloppy spots, you might need to apply self-leveling physical to raise the floor. You can check out this video on how to self-level a flooring like a pro.
Pro Tip: If you are looking to heighten the floor, consider installing a plywood underlayment. This will come up in handy if you have concrete floors that are decumbent to moisture issues. The plywood underlayment will piece of work equally a barrier and insulator between the floating flooring and the subfloor underneath.
Step 5: Measure out the bath and programme a layout
Nigh bathrooms are non perfectly foursquare. It is easy to exist left with large, awkward spaces at the end of the row and in the last row of planks if yous do not meticulously plan where each plank will become and how the pieces will fit in your bath.
To get started, choose the wall where you will lay the kickoff row of planks. So, mensurate both ends of the width of the room and decide the difference. Using the result, measure half the distance from the wider end of the room and mark this point while adding a ¼ inch space for expansion.
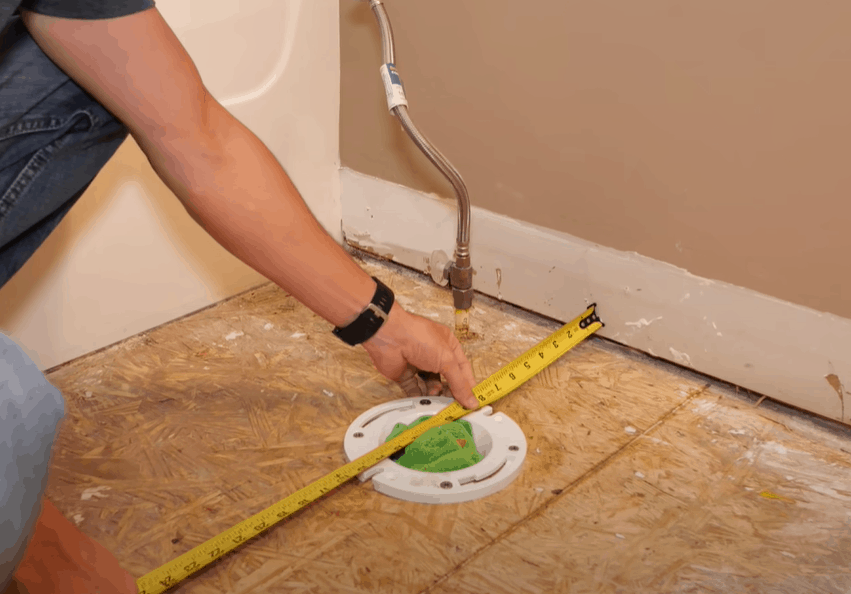
Step six: Account for water lines and toilet flange
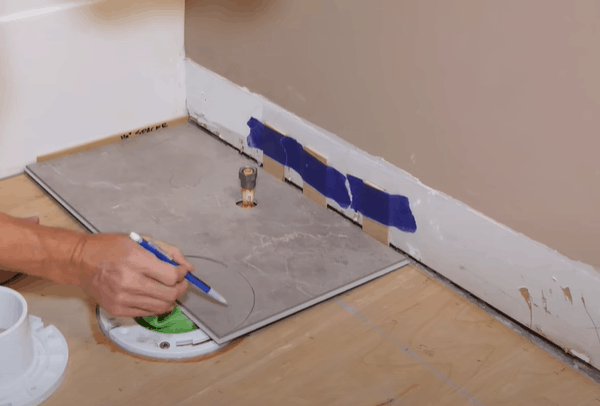
As you lot measure the room, measure out the distance of the water lines and toilet flange from the shortest stop of the room. And so, take a plank and drill holes into it for the water lines.
Yous will need to cut half a circumvolve off a plank to fit around the toilet flange. You might have to measure out the flange'southward diameter to cutting the one-half circle as accurately as possible.
Pace vii: Lay downward the commencement row
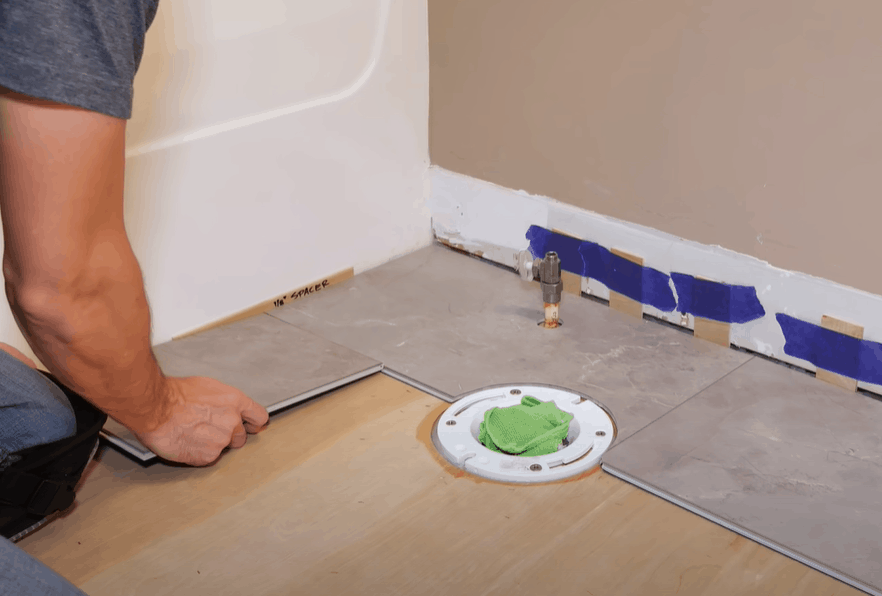
Once you have drilled the holes for the waterline and cut the spacing for the toilet plunge, the first row planks should fit perfectly.
Some vinyl planks crave that you cut off the tongues of the first-row planks. Detect out from your manufacturer if this is something that you should do with your planks.
After cutting the tongues off, lay the planks on the first row. Remember to account for the ¼ inch spacing from the wall to the planks. You lot can place ¼ inch spacers between the wall and planks to ensure that the spacing is accounted for.
The last plank on the row should be longer than 6 inches to help stagger the planks in subsequent rows. If the piece is shorter than six inches, you will need to trim down the first plank by a few inches and button the other planks back to allow the final piece to fit.
Step 8: Lay down the 2d row

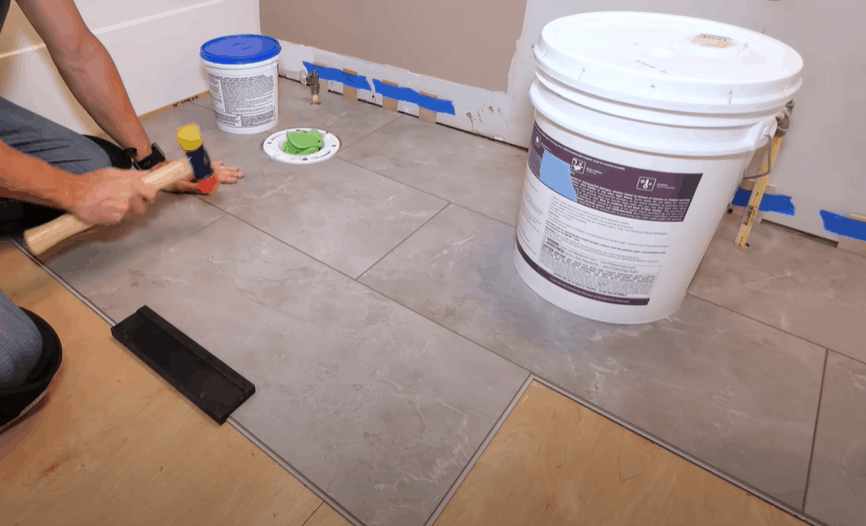
Offset the second row using the offcut from the first row. As y'all lay this row, make sure that there is a minimum space of 6 inches betwixt the end of this plank and the end articulation in the first row.
Using a mallet and borer block, tap this 2d row of planks to lock them into the first row planks. Be sure to maintain a minimum spacing of half-dozen inches between end joints throughout the entire flooring. A staggered design is aesthetically appealing and adds to the structural forcefulness of the floating floor.
Stride nine: Keep going until the last row
Afterwards locking the second-row planks into the showtime row, continue with this design to install planks in the subsequent rows. Every bit you lot go along, trim the planks as needed to fit around corners and curves in the bathroom. Effort to lay out the vinyl pieces in a random pattern to avert forming a footstep blueprint or H-joint pattern. Both these patterns weaken the structural integrity of the floating flooring.
Step 10: Install the concluding row
The terminal row of planks requires as much precision as the first. If your bathroom is not square, we recommend cutting and installing i plank at a time. And, remember to maintain the ¼ inch space between the wall and planks.
You will need to cut the planks to width to ensure that they fit perfectly and continue with the staggered blueprint.
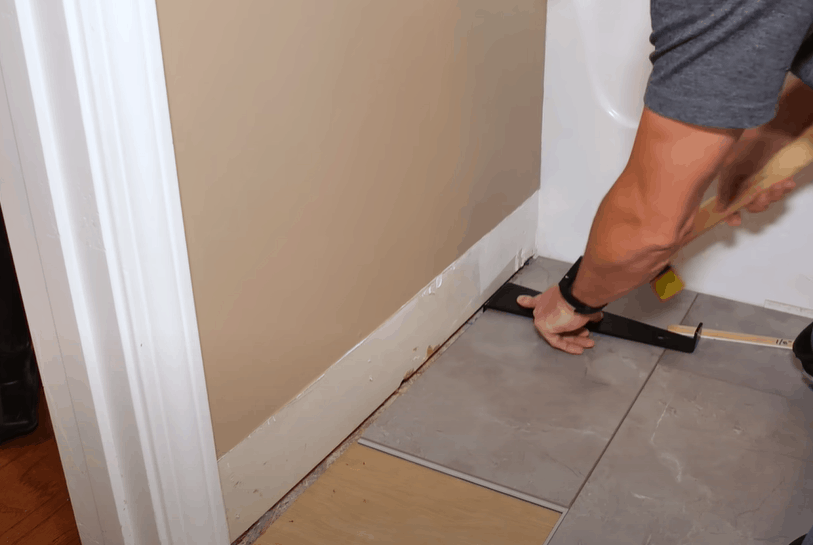
To shape the planks, pick up one piece, measure out its width and add ¼ inch to this number. Mark a straight line on the plank and employ a utility knife to cutting along the line.
Lay down the plank and use a cheater bar to pull the planks to the adjacent planks for a tighter and more stable lock.
Footstep 11: Reinstall the baseboard and trim
Once you fill out the entire bathroom with vinyl planks, yous tin can now put back the baseboard and trim. You also want to utilise silicone caulk in the infinite between the bathtub and the new floating flooring to prevent leakages.
For a neat await, consider installing a c-aqueduct transition on the bathroom door. Do a last clean-upwards and bask your new bath.
Extended Tips
- For the all-time results, the toilet flange, which connects the toilet to the flooring, should be flush with the floating vinyl flooring. You might have to lower the flange if it is college than the vinyl floor. We strongly recommend that you leave this job to a professional plumber.
- Although vinyl planks are water-resistant, excessive moisture will somewhen damage the floor. Different types of vinyl flooring have unlike moisture requirements. The bathroom is a high wet area, and so be sure to find out the moisture requirement of the vinyl planks you plan to buy.
- If your bathroom has radiant heat, you tin can install a floating vinyl floor equally long equally the temperature is in the prophylactic zone of lxxx to 85 degrees Fahrenheit. If you are unsure, find out from the vinyl flooring manufacturer the ideal radiant estrus temperature.
Spruce Upwardly Your Bathroom With Floating Vinyl Flooring
If yous have been holding out renovating your bathroom, hopefully, this guide has nudged you to do it! As you can see, vinyl planks are an excellent pick for taking your bath from drab to fab without breaking the banking company.
With the right tools, a solid understanding of flooring technique, and a bit of time, you can install floating vinyl plank flooring in your bath just like the pros do it.

Source: https://www.whatisvinyl.com/how-to-install-floating-vinyl-plank-flooring-in-a-bathroom/
Posted by: gomezhured1993.blogspot.com
0 Response to "How To Install Vinyl In Bathroom"
Post a Comment